Creating a gallery wall is a unique way to add a bit of your personality to your home interior. When done correctly, a gallery wall is super stylish and a real eye-catcher! It's totally understandable you're hesitant to create a gallery wall because of all the work that comes with it. Or maybe you're scared you'll make a wrong decision and end up with holes in the wall and an unsatisfying result?
What if I tell you that with the techniques that I'll reveal to you in this article, you'll be able to make changes to the layout of your gallery wall anytime you like? And all of this without any wall damage? Sounds good? Let's get started then!
The basics of creating Wall Displays
First things first; start with envisioning what you want your gallery wall to look like. Look for a certain color scheme, a theme, or search for pictures of gallery walls that catch your eye. Great sources for everything 'inspiration' are of course Pinterest or Instagram.
Plan your Frame Sizes and Layout for your gallery wall
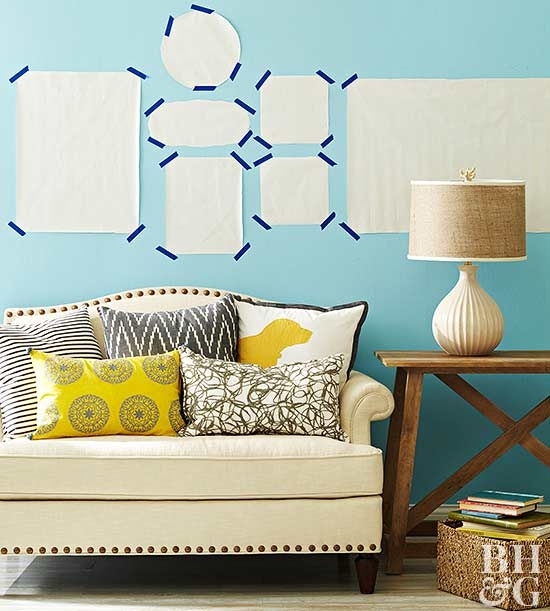
Once you have a global idea of what you want your gallery wall to look like, let's talk frame sizes and layout! As you might have figured out by now; layout is key. Determining the layout, however, can be quite intimidating for some. What is the right way to go? Many websites advise you to cut out craft paper shapes of the frames that you want to hang and tape them to the wall. This way you can experiment with multiple layouts and when you're satisfied you can replace the papers with the actual frames.
Hanging your frames, however, is a very precise job. And here's the catch to this approach. A gallery wall only looks correct and well-put-together when the spacing between the frames is executed perfectly. A mistake of only a few millimeters can make a wall gallery seem 'a bit off'. Different frames, and other wall decorations, have various hangers or wires on the rear side of the item which should be taken into account. When you hold the item in front of the cut-out paper it is really difficult to point out the exact location for the nail in the wall. At best, this is merely a good estimation which will show in the execution.
What if there was a way to avoid this all? No nails, no cutouts, and no holes in the wall...
The benefits of using a picture rail hanging system
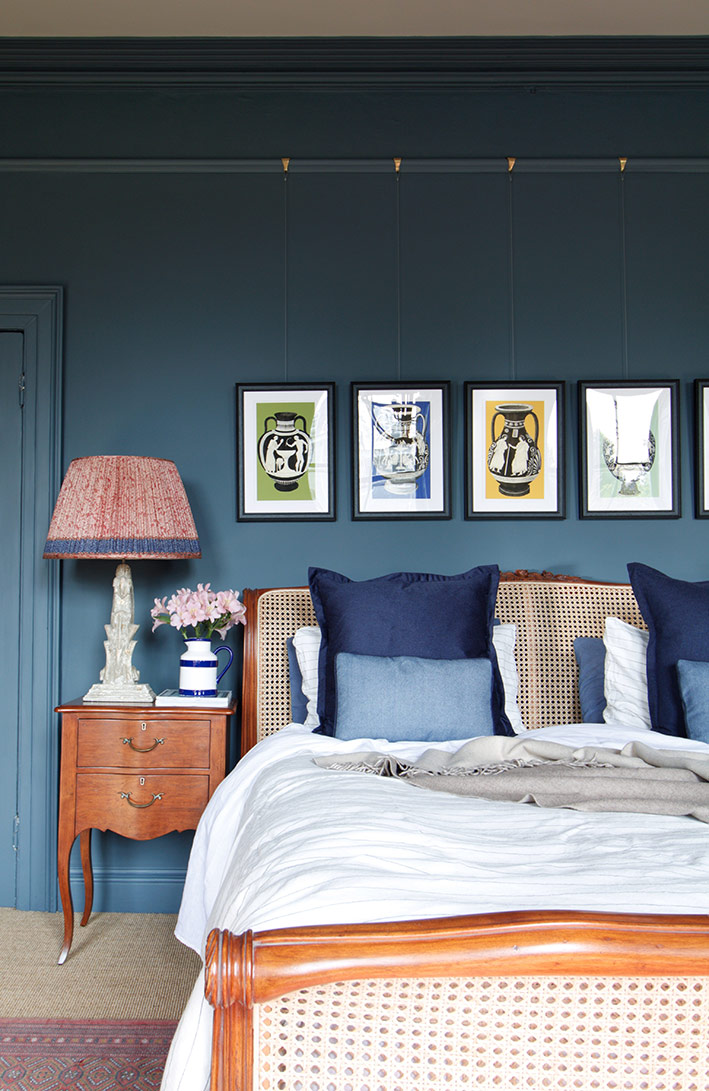
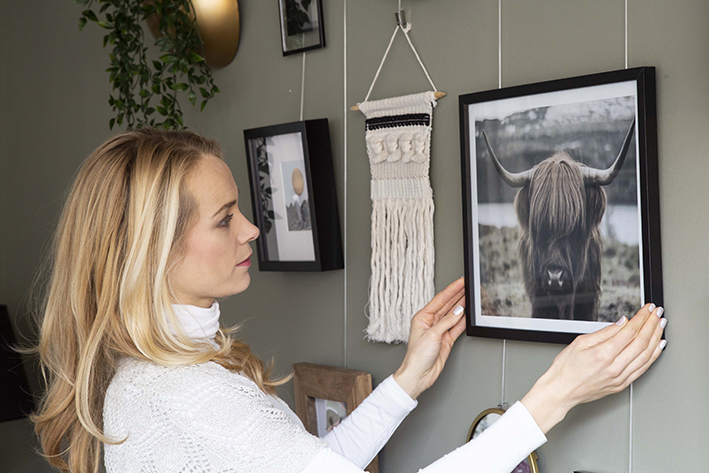
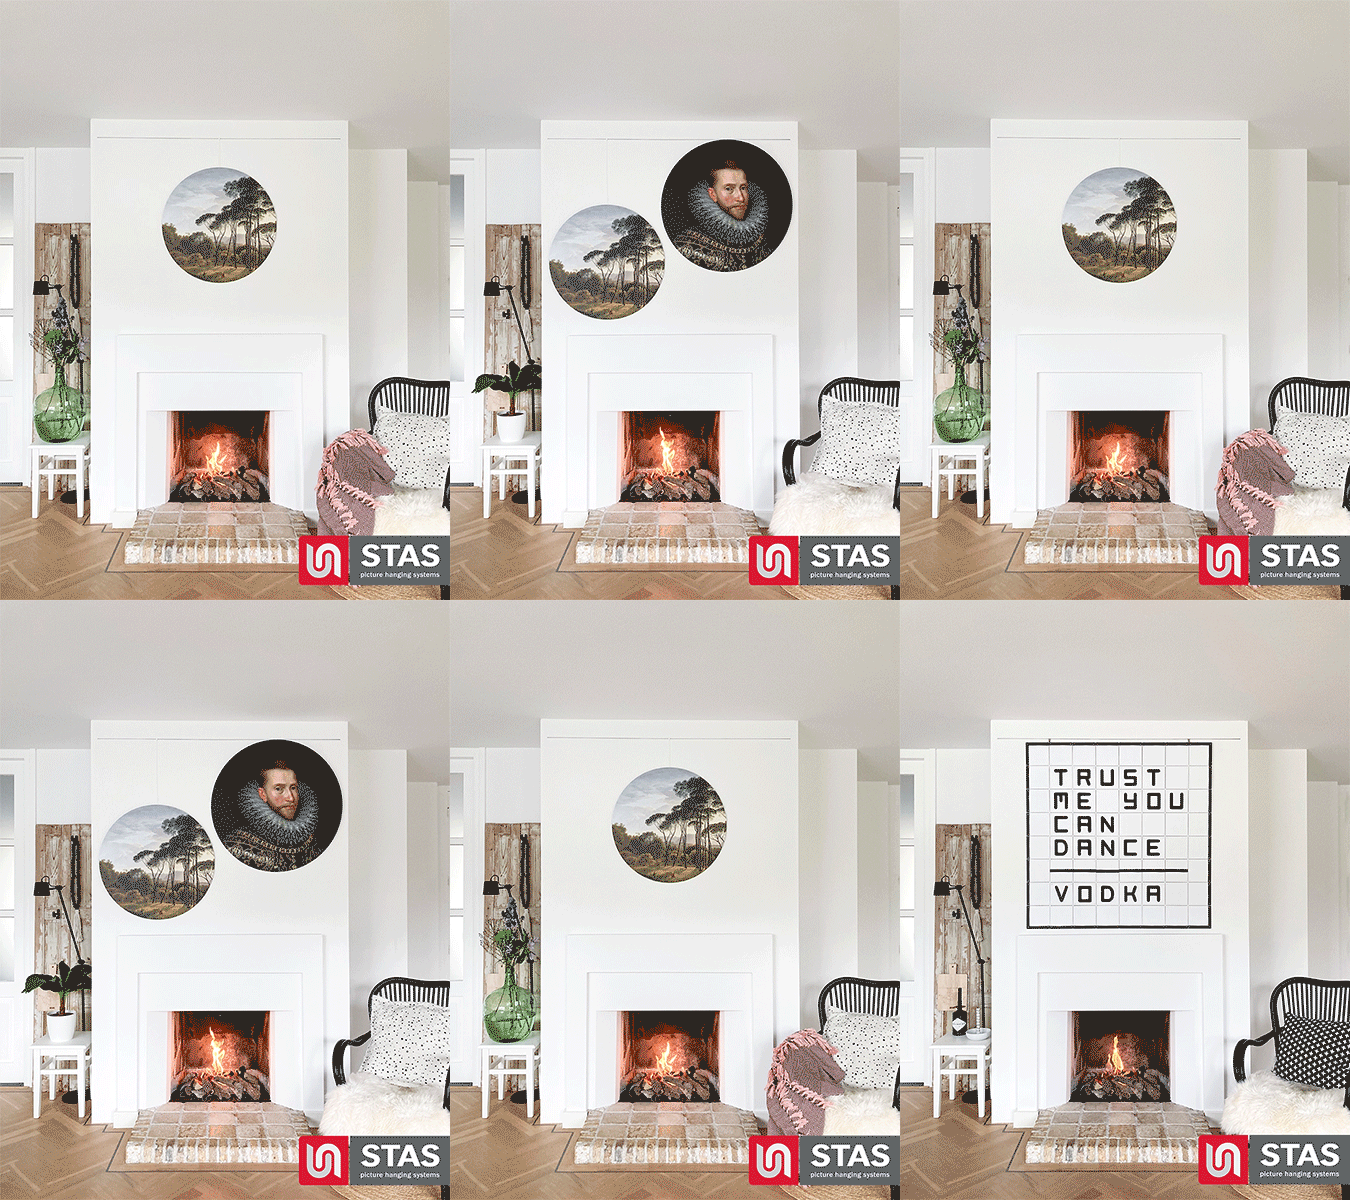
The answer to all your struggles and hesitations with hanging a gallery wall is fairly simple: a picture hanging system. A picture rail hanging system gives you the freedom to arrange ánd rearrange your gallery wall without any wall damage.
The basics of a picture hanging system consist of a picture rail (in modern aluminum or classic wood) that you mount on your wall or ceiling. From this picture rail you'll hang picture hanging cords and picture hanging hooks that you slide over de cord to the desired height.
In short:
- Change your gallery wall anytime you like
- Allows you to play with the layout during the "what if" stage
- Avoid the trouble of using cutouts
- No more drilling or holes in your wall when hanging wall decoration
How to select content for Display walls?
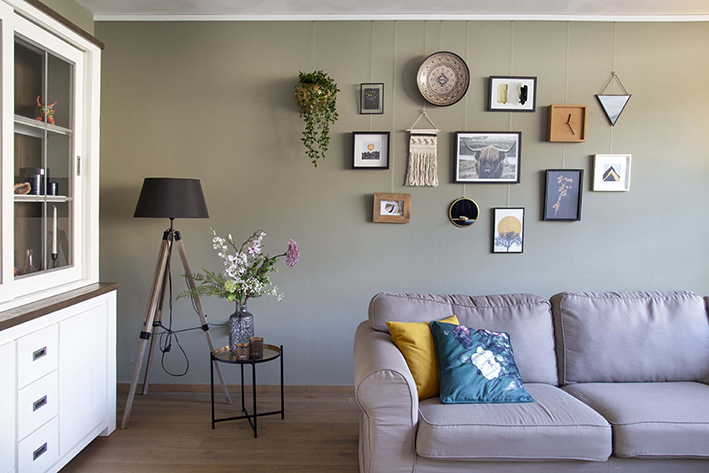
Since you've probably searched inspirational images you'll have a general idea of the content for your gallery wall. Don't be afraid to make bold choices. Unconventional content choices make a unique wall display! Besides prints, you may want to consider (homemade) art, plants, quilts, decorative plates, clocks, personal photos, or quotes. The content options are endless!
There are many affordable websites or stores where you can buy your wall decoration. Thrifting unique stuff and adding them to your wall collage can be very cool as well!
Our tip: when searching or thrifting for items, always keep a general theme or one general color in mind!
How to arrange pictures on a wall?
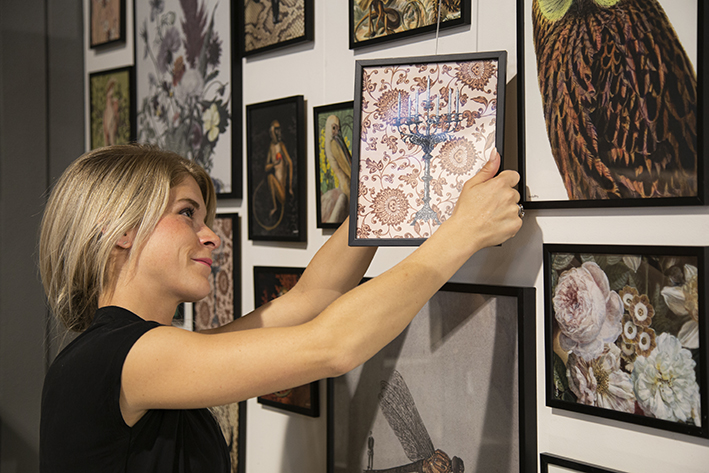
Arranging the pictures on your wall into the gallery wall of your dreams couldn't be easier with a picture rail. Make your gallery wall idea come to life without any wall damage and the fear of making a mistake. Just hook a cord in the rail and slide a picture hanging hook over the cord to the desired height. Hang your wall decoration in this hook and continue to do the same for the rest of your gallery wall.
Take a step back and see if you like the result. Not completely happy with it? Not a problem! Small adjustments such as sliding the picture hanging hook a little bit higher or lower can make a real difference and are done in seconds!
How to hang multiple pictures on a wall?
The best way to hang multiple pictures on your wall is with a picture hanging system. Whether you make a gallery wall or not, when you want to hang multiple pictures a nice layout with perfect spacing between the frames is key!
A picture rail gives you the freedom to make adjustments when you're not entirely sure about the location of your pictures. With a picture rail you can hang multiple pictures on a cord. When you notice that pictures are starting to float or tilt, you might want to consider using 2 cords instead of one. More tips to prevent floating or tilting pictures can be found in this blog.
How to arrange photos on staircase walls?
Staircase walls are perfect locations for hanging your pictures! Staircase walls can be quite difficult to reach and that's where a picture hanging system comes in handy. After the installation of the picture hanging system, changing your staircase wall layout is fairly easy without making any holes in your staircase wall.


