Installing a picture rail
Okay, so you've made the decision to get yourself a picture rail to hang your wall decoration. Good choice! Of course, there are many different ways to install your picture hanging system. They all depend on your needs and your personal style. However, when you are new to picture hanging systems.. you might need some tips and inspiration. Over the years, we've seen many different ways to install your personal picture hanging system. We have put together all these years of inspiration in this blog post and came up with....
8 tips to get the most out of your picture hanging system!
How to get the most out of your picture hanging system
Tip 1. Install the picture rail over the entire length of the wall
Using the entire length of the wall creates an aesthetically pleasing look. Moreover, it enables you to use the entire wall to hang decoration, which increases the flexibility to move things around. Bonus tip: The rail can be easily cut to size with a hacksaw! Extra Bonus tip: STAS also has corner caps which you can use on the corners in your room. They enable you to use an entire wall (with corners!) to hang decoration.
Tip 2. Install the picture rail right underneath the crown molding (if you have any)
Installing the picture rail right underneath the crown molding makes it a proper whole. There is no space left unused, and wall and picture rail smoothly unite. If you don't have a crown molding we would advise you to install the picture rail as close to the ceiling as possible. Use the handy drilling template and installation instructions to install your picture hanging system at the correct height below your ceiling.
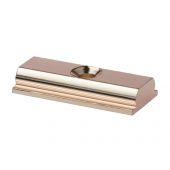
Tip 3. Consider painting the picture rail
Painting the picture rail in the color of your wall is a smart way to make your picture hanging system less prominent. Don't forget to gently sand down the rail with very fine sandpaper and make sure the rail is clean, dust free and greaseproof. Next, paint the rail with acrylic paint. Bonus tip: Painting your picture rail in a contrasting color makes your wall pop!
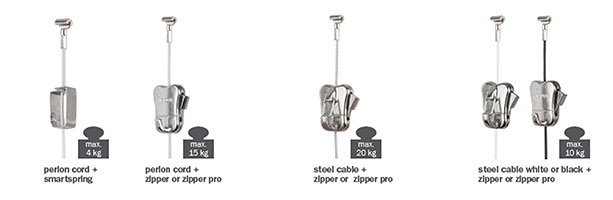
Tip 4. Use the right cords and hooks that fit your needs
We offer different cords and hooks to make sure that there is always something that fits your needs. Do you want your cords to be nearly invisible? Then you might opt for a perlon cord. Need to hang heavier works of art? Go for a steel cable. All STAS hooks and cords can be found here.
Tip 5. Use 2 cords to hang a heavy or large frame
If you have a heavy or large frame, you might consider using 2 cords instead of 1. Using 2 cords increases the carrying capacity and ensures that your frame hangs more steady. Always keep the maximum carrying capacity in mind though.
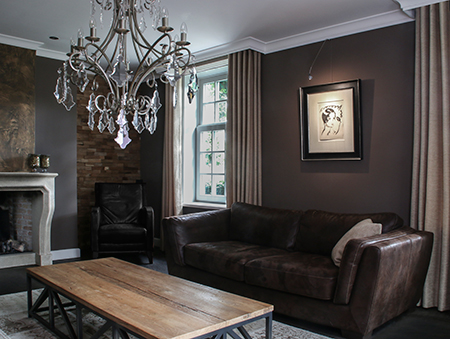
Tip 6. Make sure that the hook you're using is invisible
Your wall decoration looks at its best without any visible hooks. Ultimitely, you want your decoration to be the center of attention! When this is not possible due to the position of the hook on the back of the frame, you might consider using picture hanging hardware to adjust this. In another blog we explain the different picture hanging hardware that STAS has to offer.
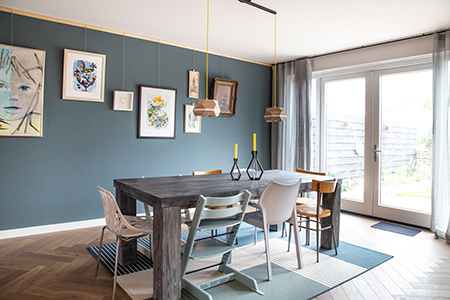
Tip 7. Hang multiple frames on one cord to create a dynamic look
You can hang one frame on a cord, but in order to create a more dynamic look we suggest you hang multiple frames on one cord. Nevertheless, always keep in mind that you never exceed the carrying capacity of the hook-cord combinations.
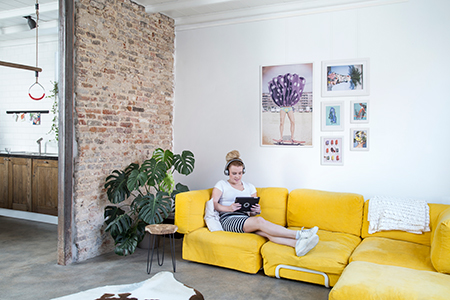
Tip 8. Consider making a wall gallery
The wall gallery trend is a trend that stands the test of time... and for good reason! With all the different options that are available nowadays, it would be a shame to only hang frames. You might consider using mirrors, taxidermy, textile, plants, hats, records or plates to complement your wall gallery. STAS offers many different solutions to hang a wide range of objects! Are you curious how to hang these objects? Find it out in this blog!